
—Guest post by Jon—
It’s been the longest unsolved challenge we’ve had since moving into the house on a hill – how do we get heavy things up to the first floor of the house? For those who haven’t visited, there are only two ways into the property and both involve a lot of stairs. The house is perched 15 feet above the street, so you can either go through the garage, into the basement, and up two separate flights of stairs, or you can go in the front gate, which will take you up one long, narrow flight of stairs to the front of the house.
So, say I want to power wash our concrete patio, or do some gravel landscaping in the backyard, or aerate the lawn. All of these things either involve equipment that is too heavy to lift up the stairs or, in the case of the gravel, would take a very long time, and probably a broken back, to carry up bag by bag.
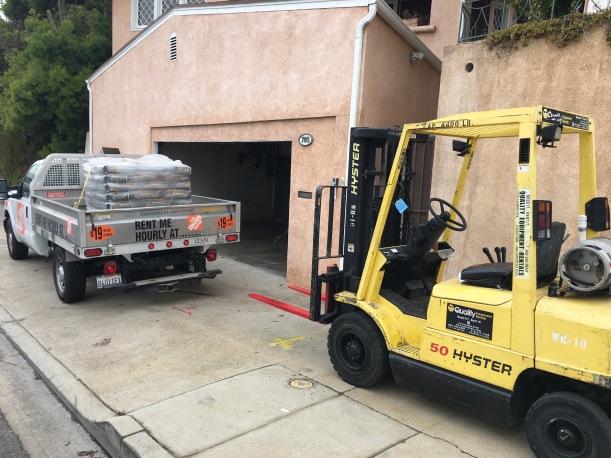
We came up with all sort of ideas for how to get things onto the property including winching things up the stairs with some kind of stair climbing platform, winching things up the grassy hillside that leads up to the back yard, cutting a hole in our neighbors garage to bring things through, buying a helicopter, etc. All of these solutions ran into a problem somewhere and didn’t pan out, so during some recent projects, which I’ll have posts for later, I’ve had to rent a forklift to move up heavy equipment.
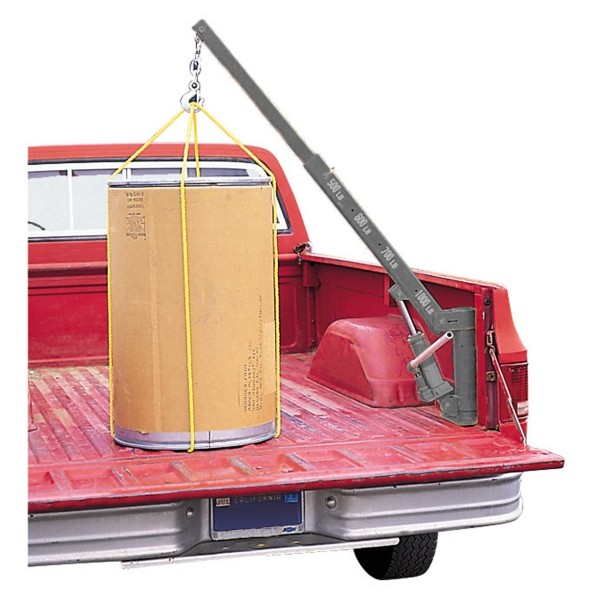
But one day I happened to notice a small crane on the back of a pickup truck – used for lifting things in and out of the bed. So I looked it up and it turns out that some of these little cranes can lift up to 1000 pounds and only cost about $250. One of the options that I kept coming back to lift things up using some kind of crane that would attach to the top of a ledge that overlooks the public sidewalk in the front of the house. I couldn’t find an affordable crane that was also small enough to fit in the relatively confined space, but this finally seemed to be the solution!
 So I started by drawing up plans for the concrete footing which would support the crane. The crane arm was actually the smallest part of this job – the main part was the huge amount of concrete that had to be poured to support the weight. Not having much experience with concrete, I ran the plans by an engineer friend, who had a couple suggestions on where I could be a bit more efficient by changing the shape of the footing from a straight column, to an L shape.

Click on the image to enlarge
These plans also have the actual prices for everything involved in this project. At a rate of $300 per forklift rental, this crane will pay itself off in just 4 uses.
So once I figured out the cost and the plan, I started digging. I needed a hole that was 20″ wide, 36″ long, and 4′ deep, which turned out to be a challenge since about half of the digging was going through thick clay, by hand.
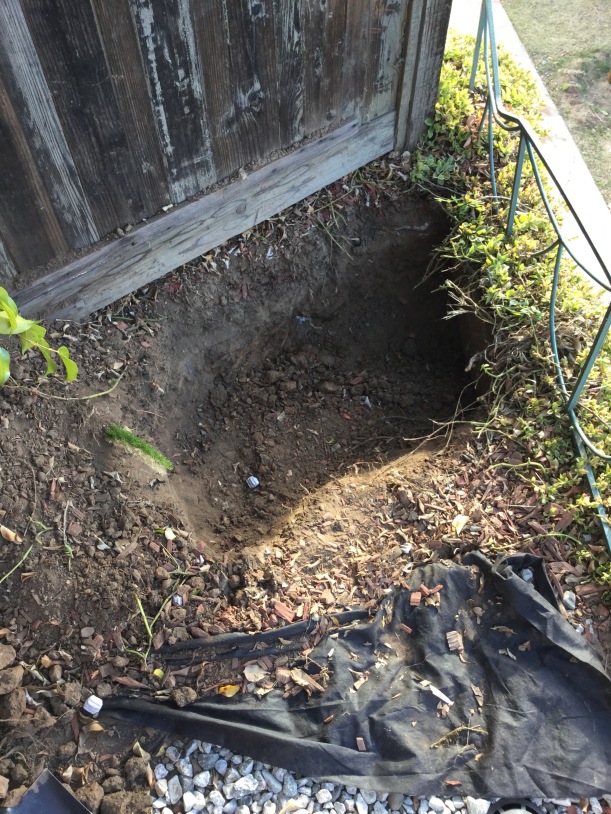
Outlining the hole
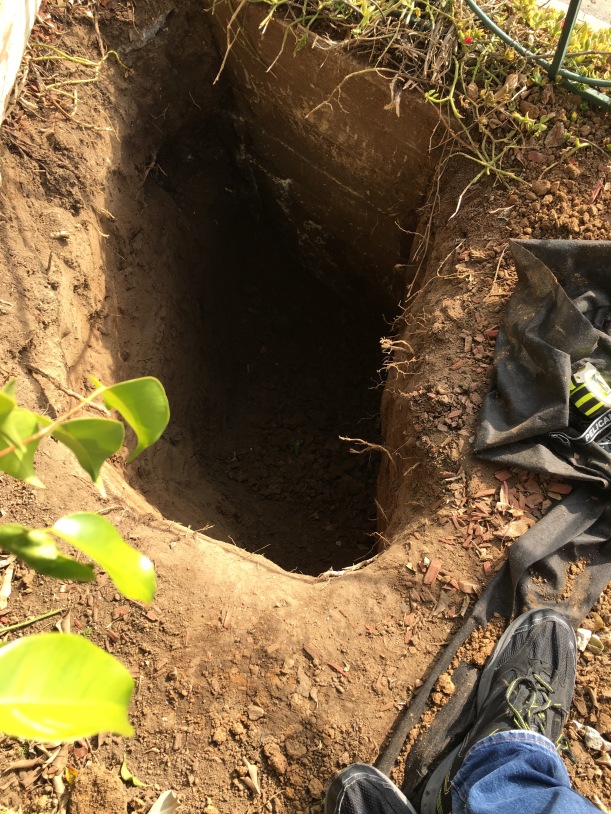
After a few days of digging

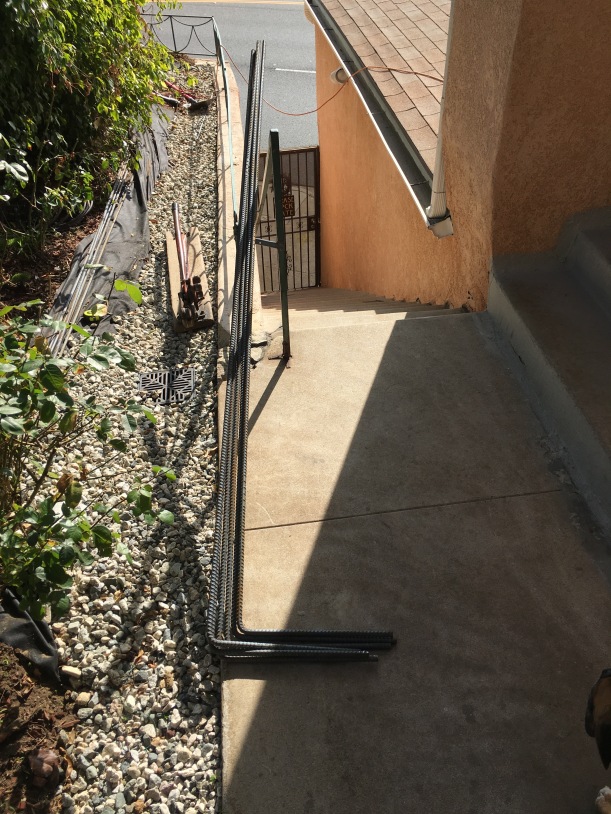
The next step was building the rebar structure which would support the concrete. Concrete stands up very well under compressive force – anything that’s pushing straight down on it. But when you apply tension (pulling apart) concrete easily breaks down. That’s where the steel rebar comes in – it is great under tension. So the combination of the two creates a very strong footing that can stand up to both kinds of pressure (the compressive force of the weight bearing down on the column, and the tension force of the the load out on the end of a 4′ boom).
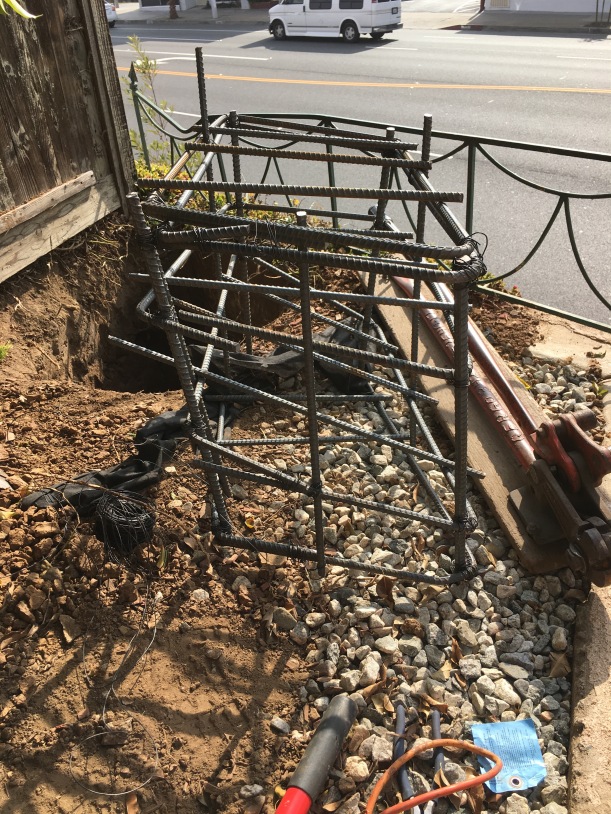
I built the base of the cage outside the hole, then dropped it into the hole and added the column.
Bending the long, vertical pieces for the column
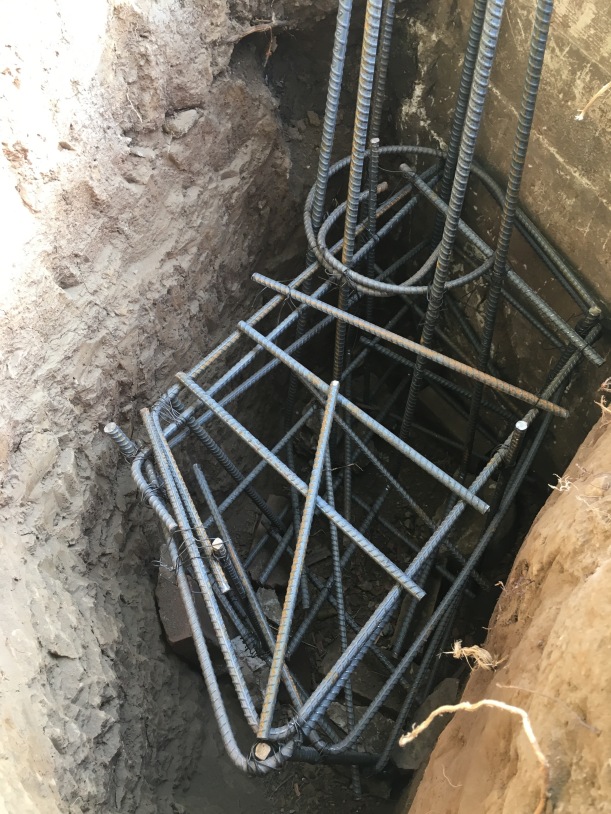
Attaching the column pieces to the base
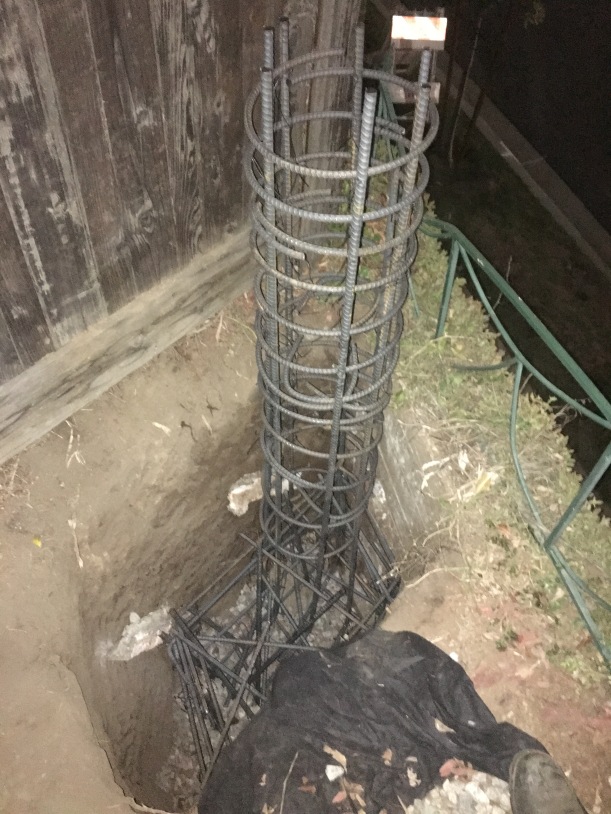
Finished it off with rebar hoops at every 6″ up the column
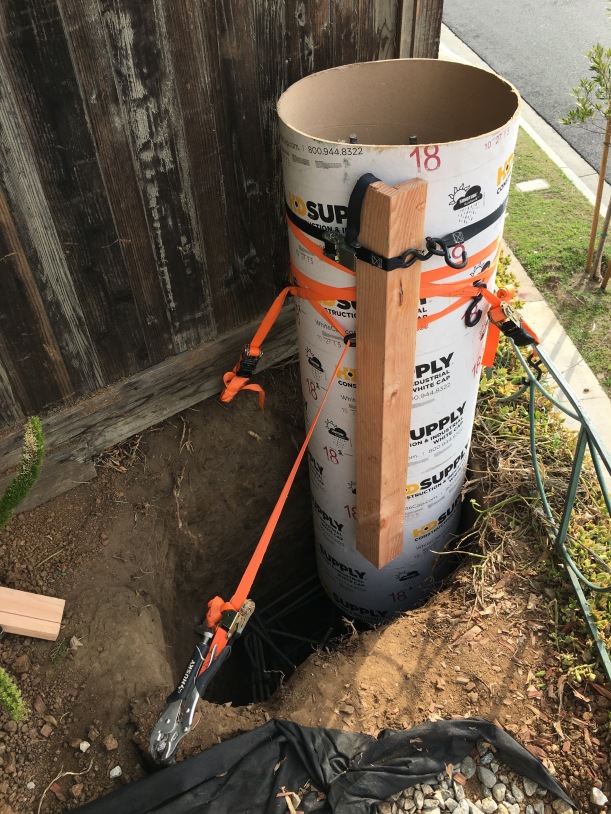
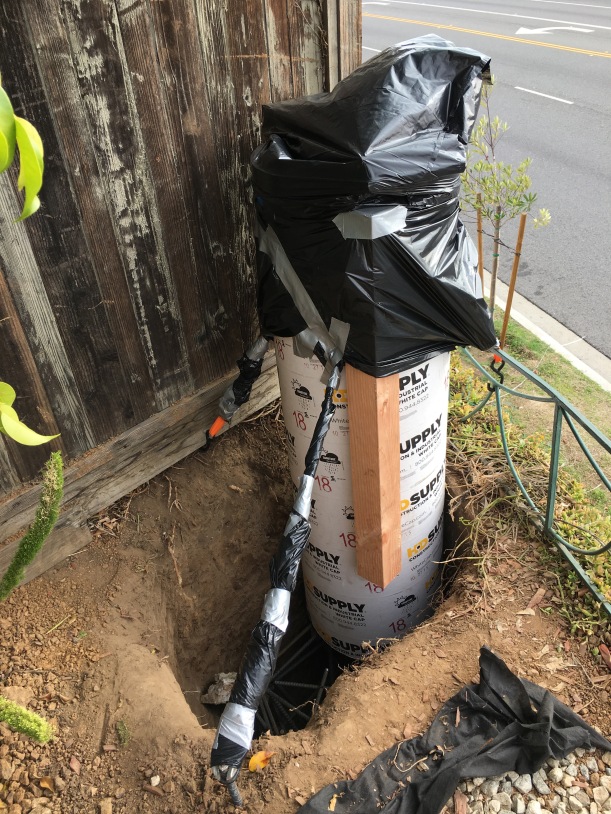
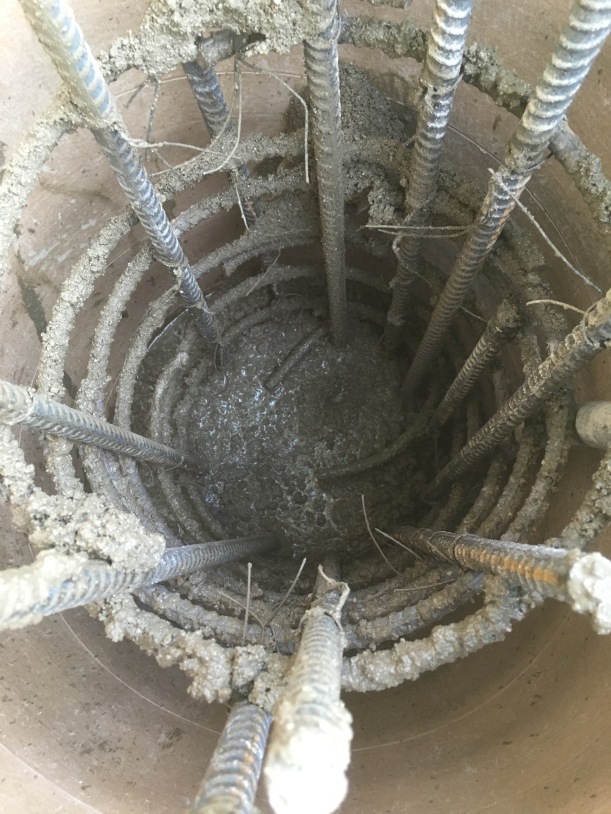
Next I installed the sonotube, which is a concrete form used to shape the column. The rebar column has to be placed right in the center of the sonotube, so with a few ratchet straps I was able to position everything so it was level, lock it down with the straps, and get it ready for the big concrete pour.

The anchors for this project had to be a bit more substantial that your typical concrete anchors. Since so much tension is going to be put on them, I wanted to make sure they didn’t move at all in the concrete. As you can see from the design, I had a few different options, but I ultimately went with what are essentially reinforced steel bolts with square plate washers on the end. I made a jig based on the hole pattern of the crane and set it up on the top of the column.
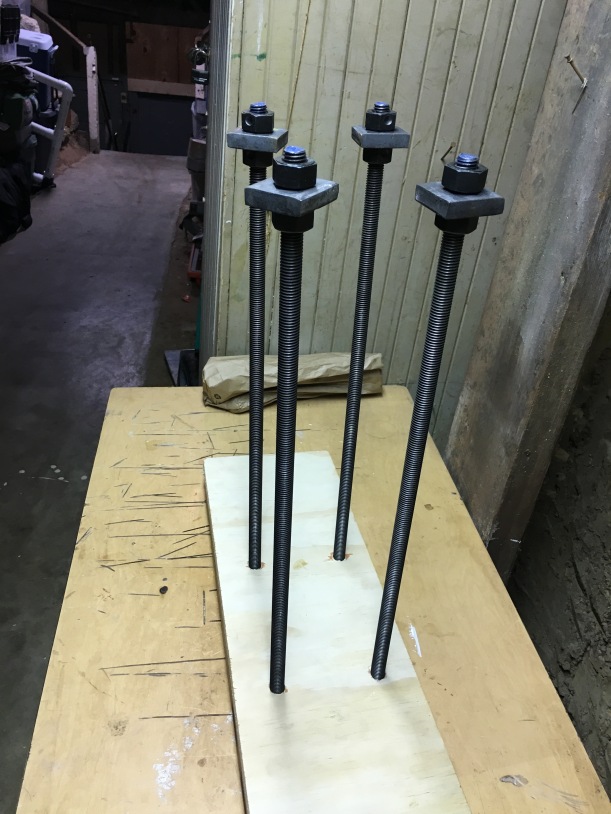
Anchors sitting upside down in the jig
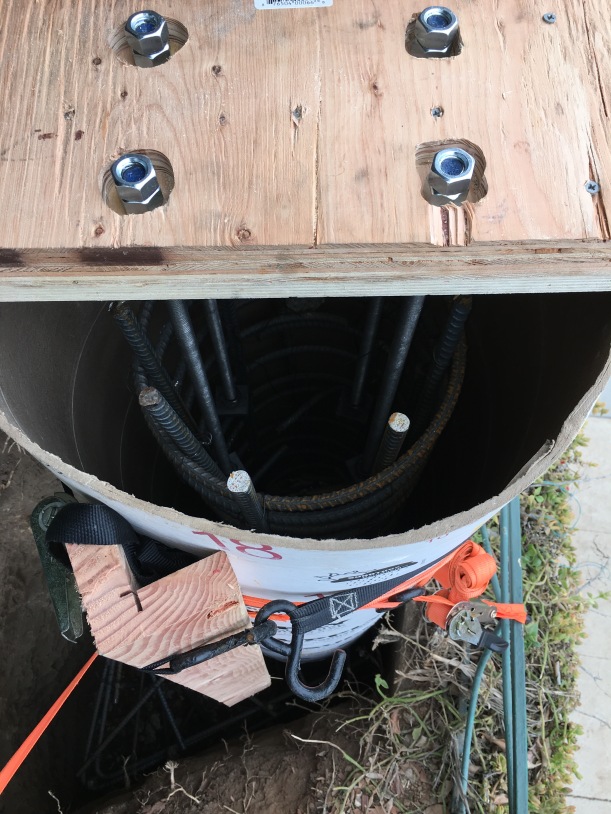
Anchor bolt jig placed on the sonotube
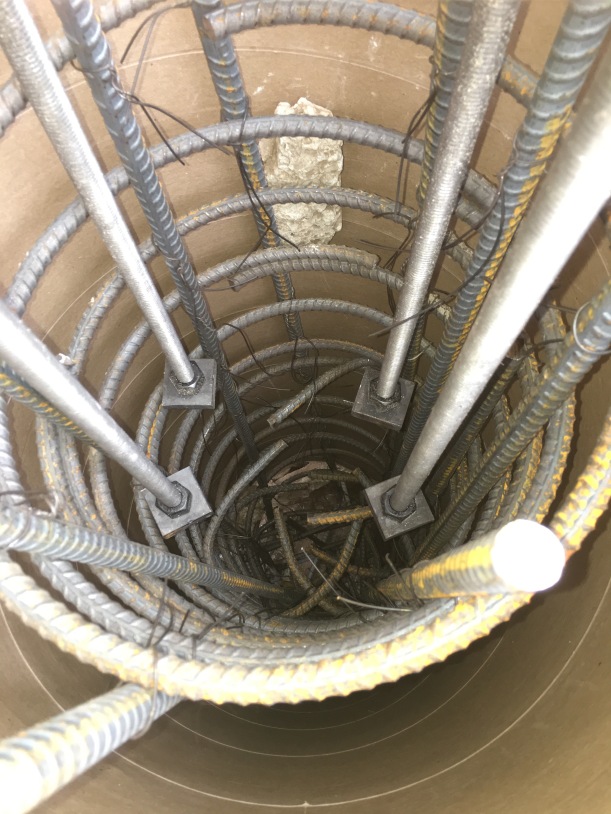
Looking down into the tube you can see the rebar column and the four anchor bolts.
All ready for concrete!
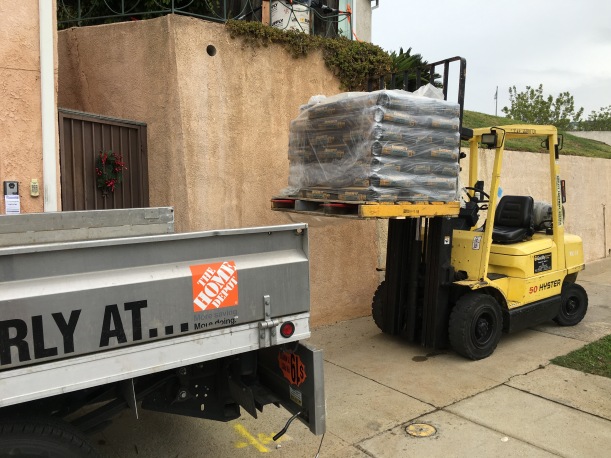
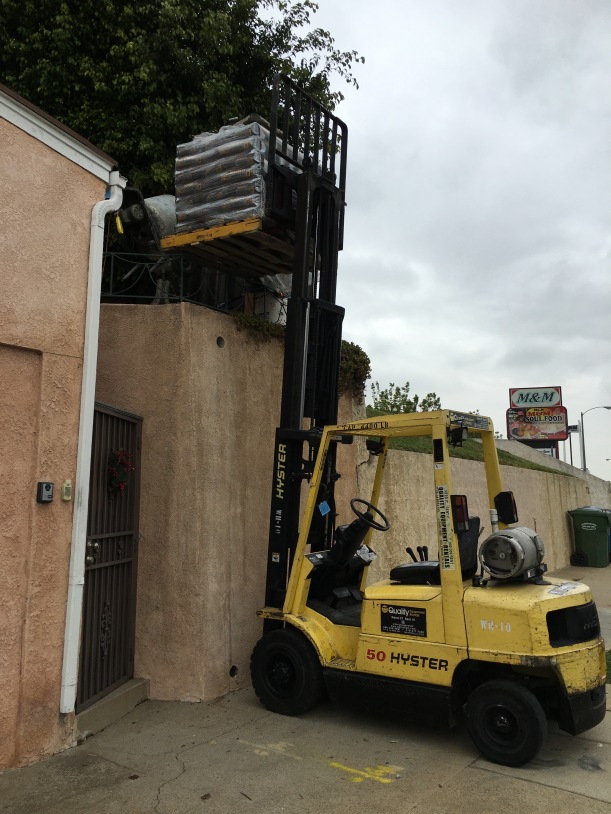
The total weight of the concrete was about 3000 pounds, so for this I decided to spring for a forklift, one last time. I also had very limited space to work in, so it helped that the concrete was on its own platform. It gave me just enough room to stand between the bags of concrete and the mixer where I was pouring them. The forklift was dropped off on Saturday morning, right around the same time I was getting back from Home Depot with a palate of concrete.
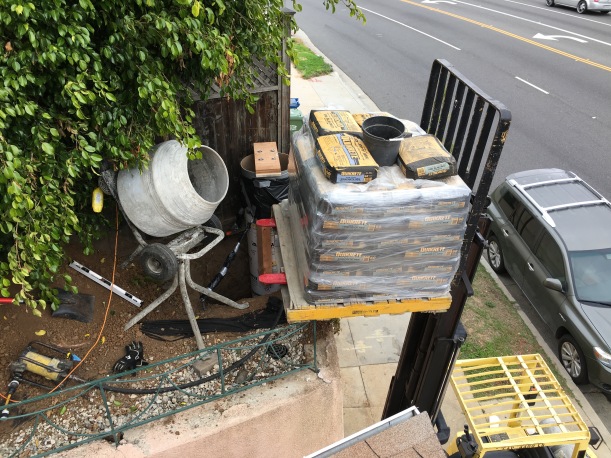
That small space between the concrete bags and the mixer is where I spent the better part of a day mixing and dumping concrete into the hole.
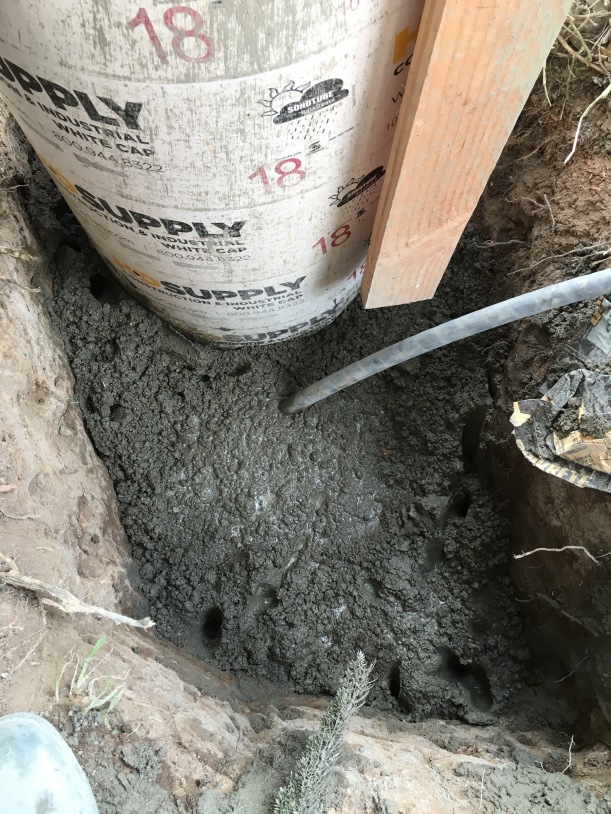
Using a concrete vibrator to get all the air bubbles out of the footing
Filling up the column
Topping the column off and clearing those air bubbles
All ready to dry
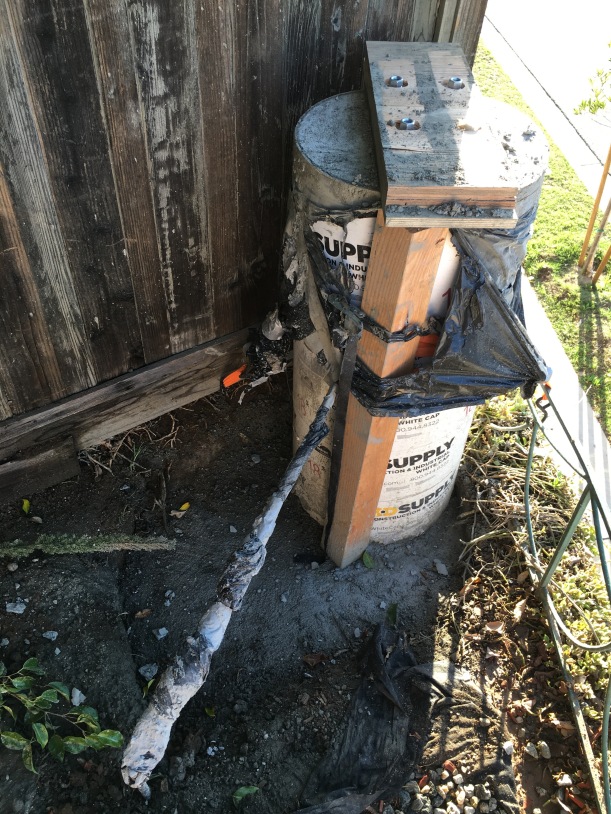
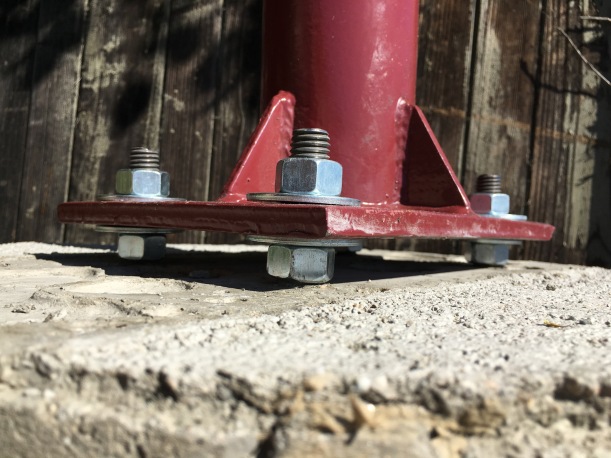
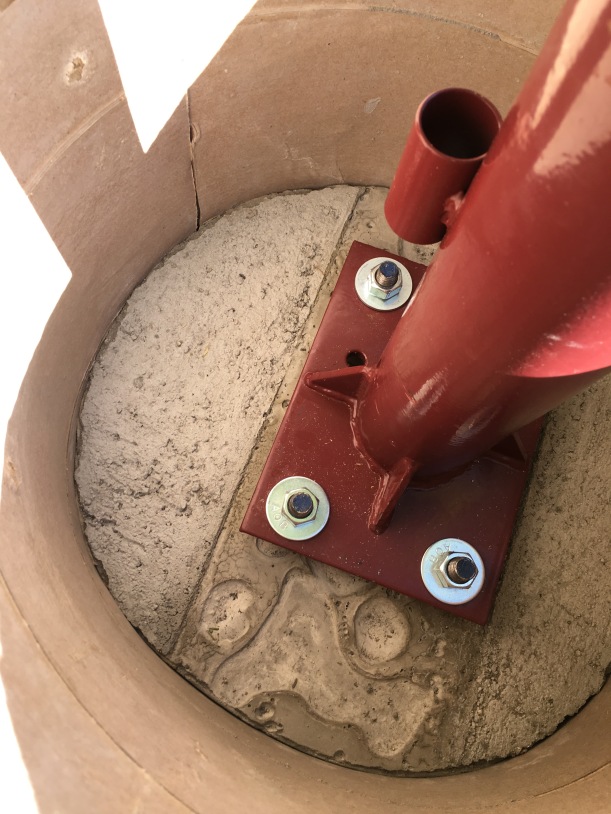
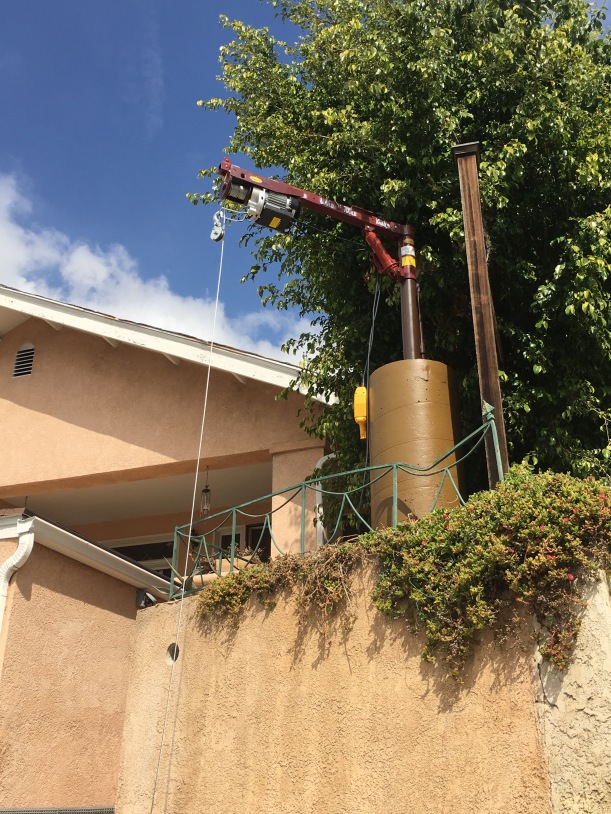
After about a week I cut the sonotube off and took the jig off of the bolts. Then I placed the crane on the bolts and, after drilling out the holes to accommodate the large anchor bolts, it fit perfectly. I mounted the crane with nuts underneath the base so that I could level it out. The top of the concrete column is a bit bumpy and not perfectly level, so I used the nuts to level it off before tightening it down.

Drilling out the holes in the base
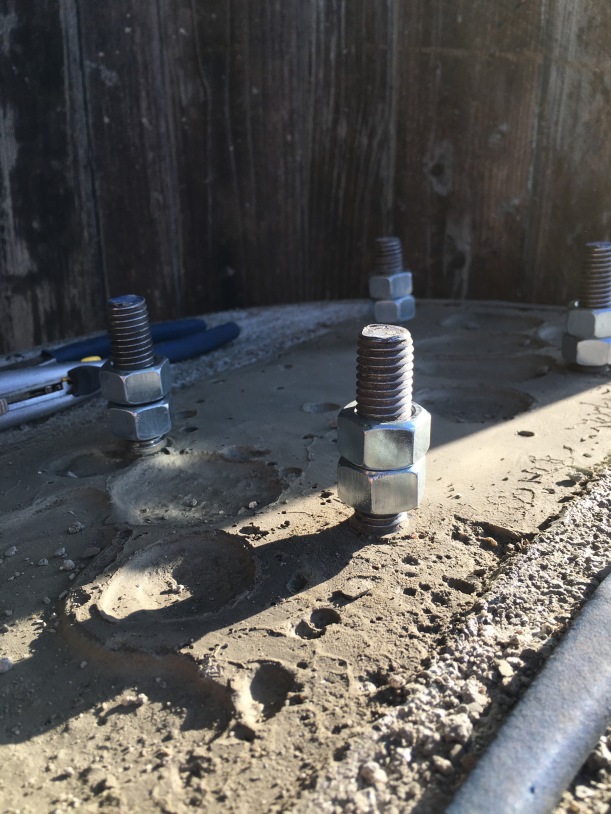
Leveling the base
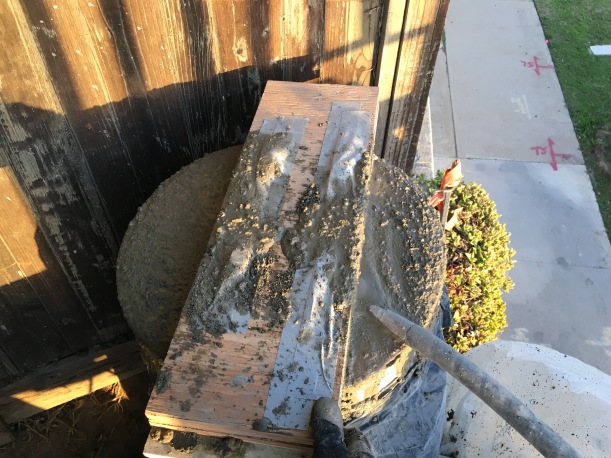
The final step of the installation was pouring grout over the bolts to make sure they stay in place and protect them from water. I had the option to galvanize the bolts but it nearly doubled the cost, so I just decided to cover them in grout.
I took a piece of the sonotube that was stripped off the column, and wrapped it around the top of the column. I used some ratchet straps to secure it and made sure that there was a tight seal between the sonotube and the concrete column. High precision grout is very watery when poured, about the consistency of a half melted milkshake, but once it cures, it is even stronger than the concrete.
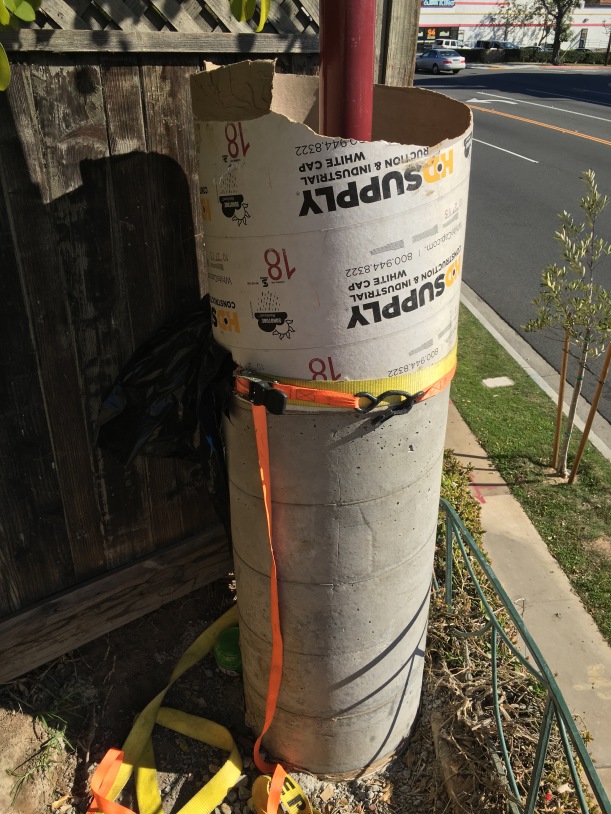
Looking down into the sonotube, just before pouring the grout.
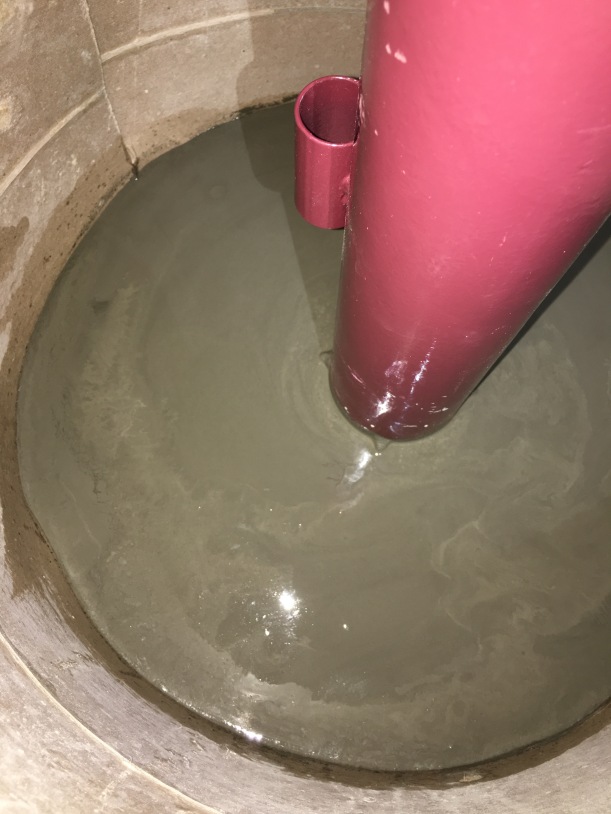
After pouring 1 bag worth of grout, it was good to let dry.
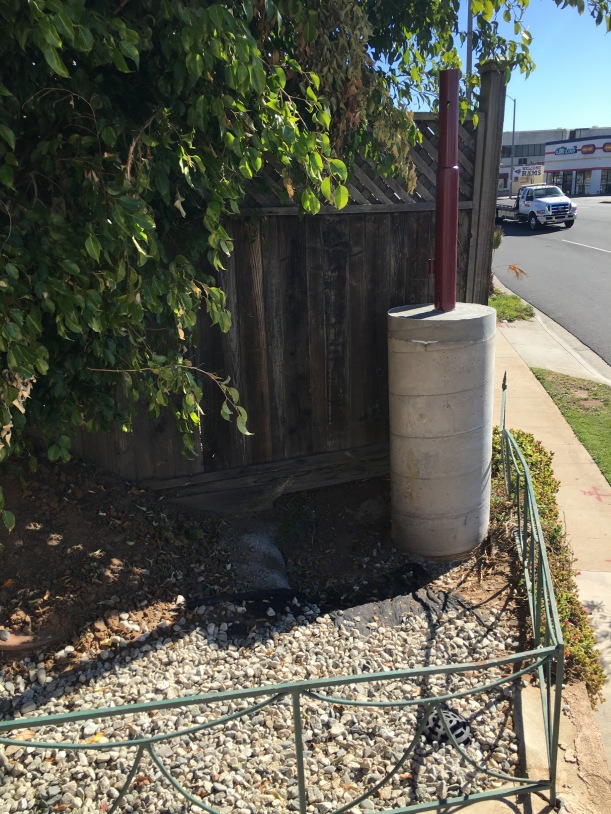
The result of the grout is a finished looking top. You can’t see the bolts, just the steel post coming straight out of the concrete.
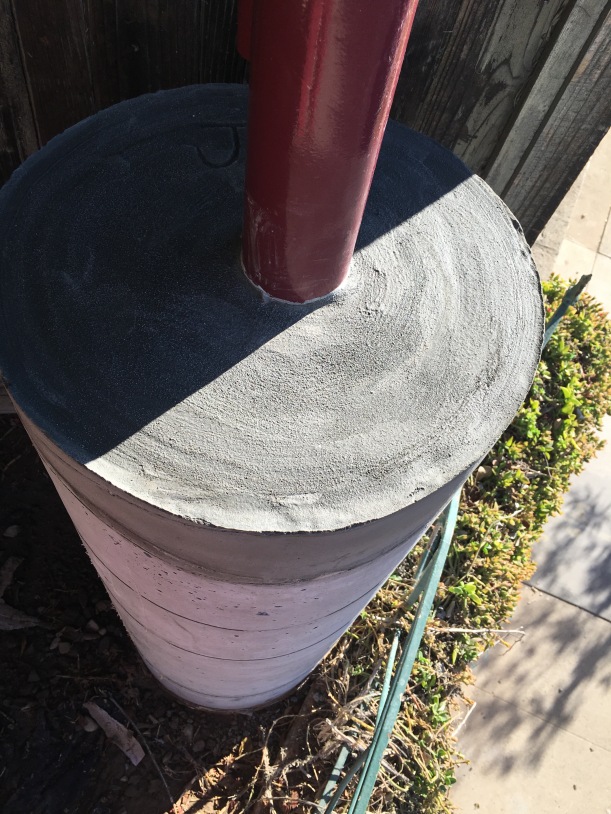
After drying for a day or so.
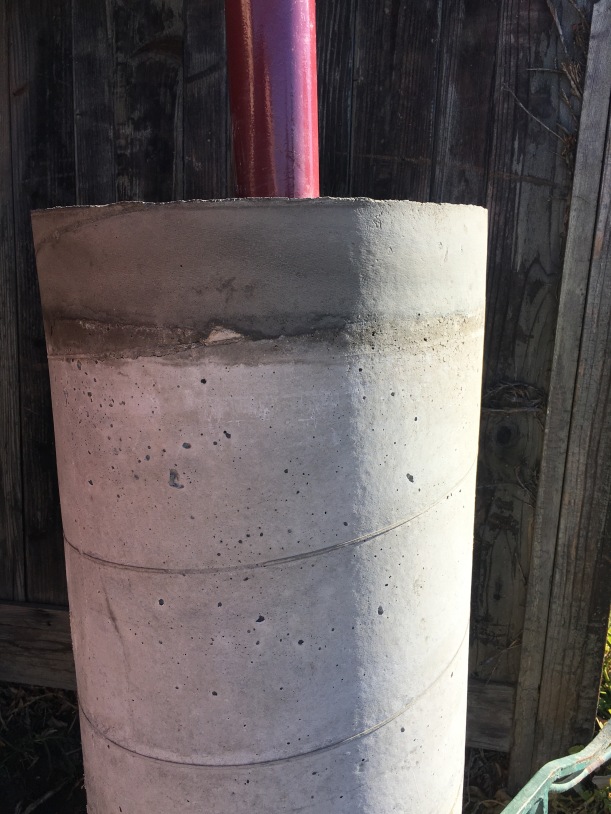
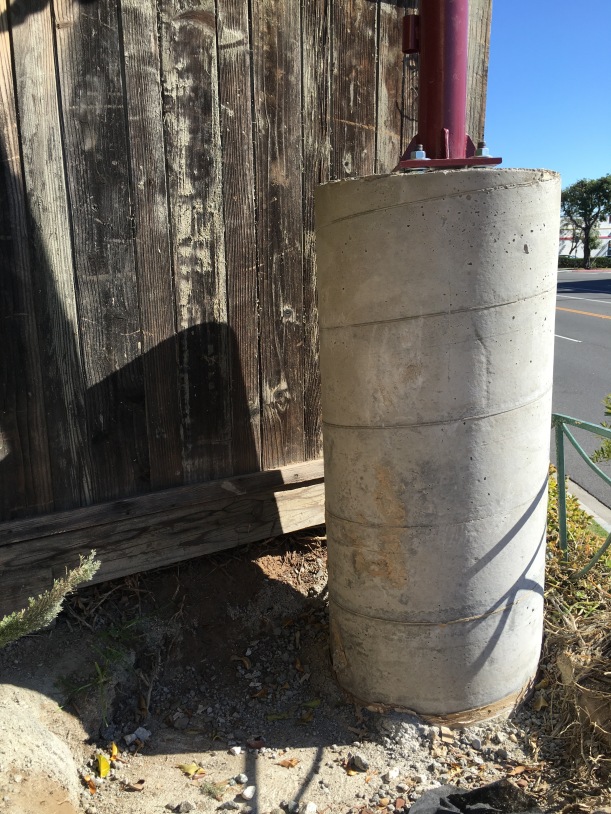
After this step I had to wait a month for the concrete to completely cure before I could finish it up with some paint and sealer.
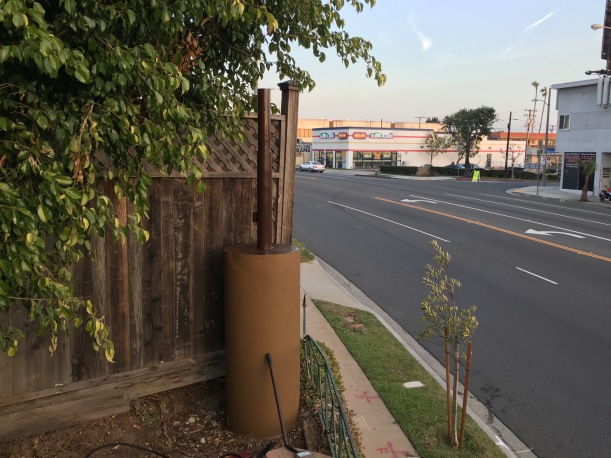
I used brown house paint and a sealer on the concrete and a spray paint on the steel post. I think it makes it blend into the fence a bit better.
After installing an outlet close by in the wall of the garage, the crane was ready to use!
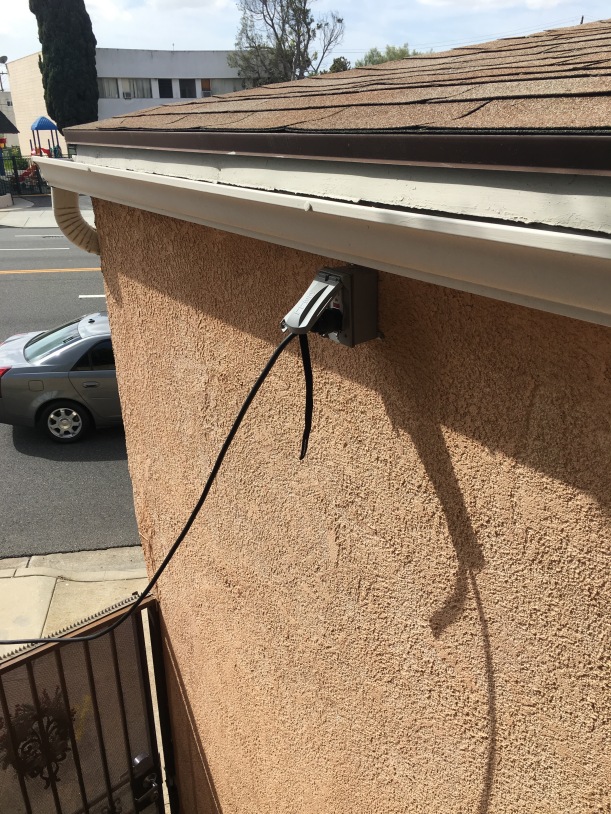
Outlet on the garage next to the crane

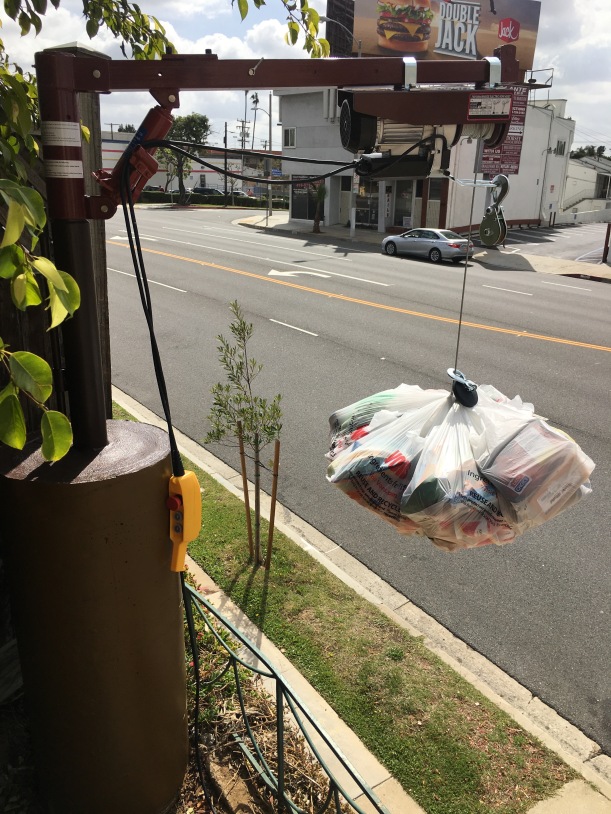
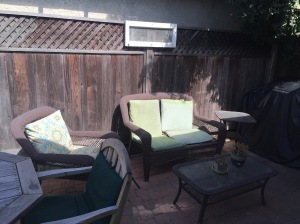
Groceries made it safely to the top!
I picked up a grill cover from Home Depot so that the electric hoist and the crane arm will be protected from the elements. I was originally planning on disassembling the hoist and boom after every use, but they weigh about 70 pounds, so not super easy to run up and down the stairs from the garage every time I want to use it. With the cover, and after painting everything brown, I don’t think its very noticeable at all.
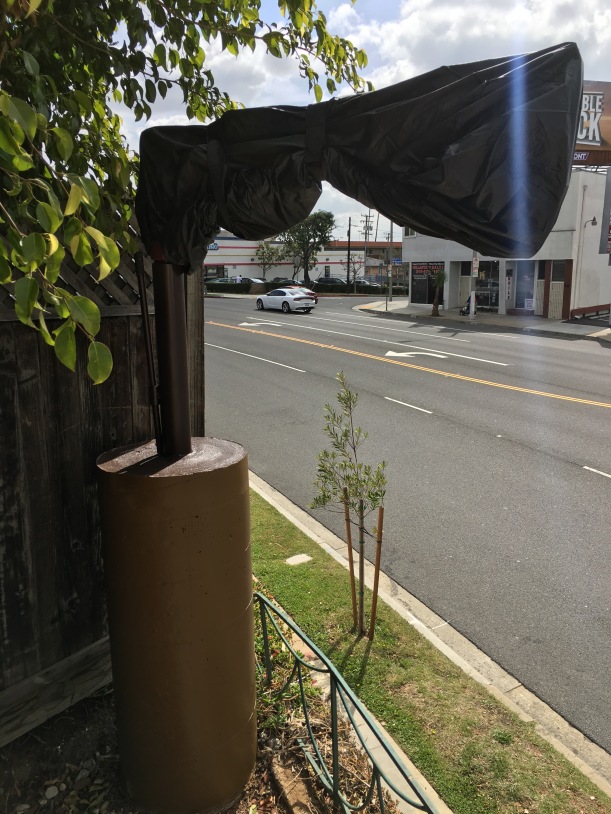
Crane with its cover
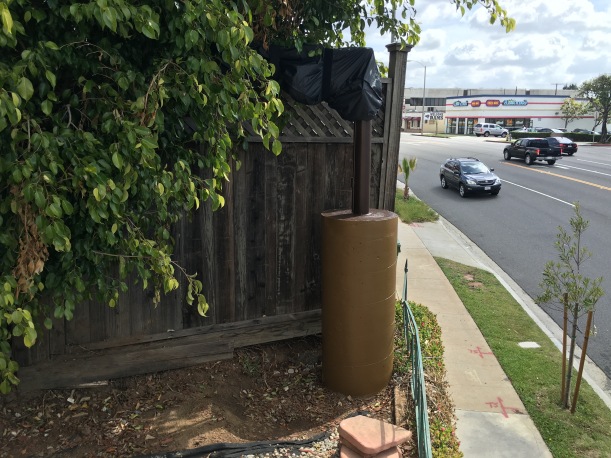
Folded back and hidden by the ficus tree

View from the street
I’m looking forward to putting the crane to the test! The original reason for building this was actually to landscape the side yard with gravel. I needed to figure out a good way of lifting 8000 pounds of loose gravel, and now I have it! Many more crane related projects to follow!

 The original hall lighting fixture, a modern-looking silver-colored basin-style thing, didn’t bother me terribly (at least not like the bathroom chandelier when we moved in), but it didn’t quite fit in with the house’s decor, either. I’ve kept my eyes open for a while for a good alternative.


 Behind the


