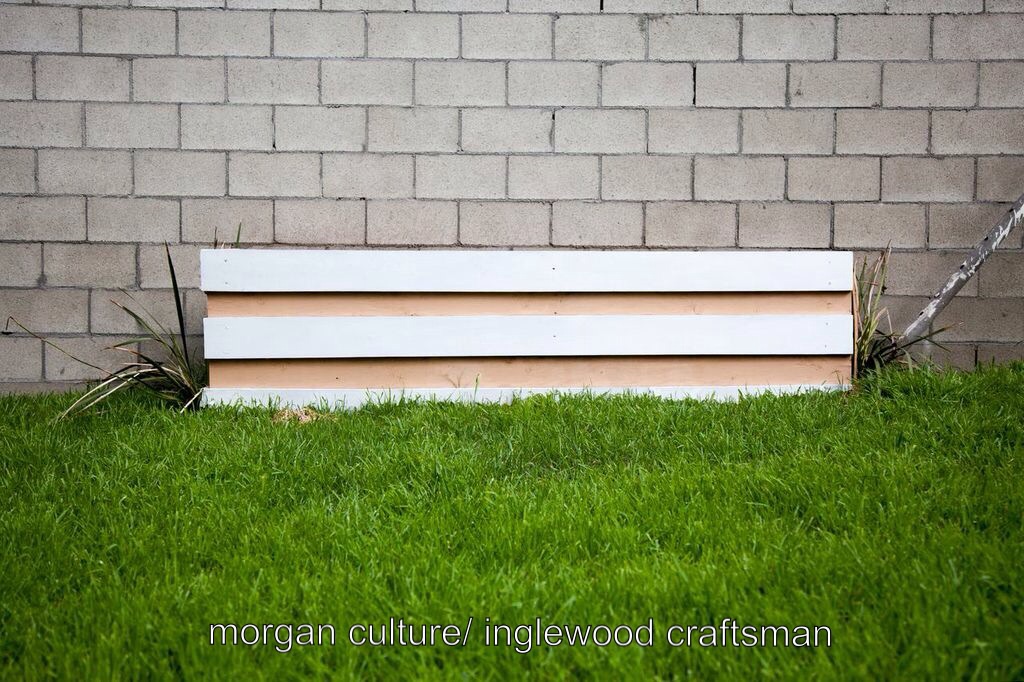
Earlier this year, we finally had a bit of rain in Southern California. Sadly, that rain weighed down the giant bougainvillea plant that lived here since we moved in, and the plant collapsed from its own weight. After trying everything to save it, including chopping off all the branches and forcing it upright, we removed the bougainvillea. Unfortunately, this left us with a bland view of a white stucco wall through our new/old glass back door
 !
!
Though we are planning a custom mural with a friend’s non-profit, Off the Wall Graffiti, the process will likely be somewhat lengthy, so I wanted to quickly elevate the view. Inspired by a friend’s garden, I began searching for some antique furniture to set up some plants on. Luckily, within days I came across some discarded ladderback chairs on the street! These beauties are of solid construction. The faux leather seats are cracked and broken- likely the reason for the discard. On the next block, I encountered a discarded solid wood bookshelf. Walking the dogs was particularly beneficial on this day!
I put some nice planters on the chairs to cover the damaged seats. In each planter I placed some bromeliads, fan plant things (not sure what they’re really called and haven’t been able to identify them online yet), and a couple annuals. A garage sale afforded me some great antique vessels, into which I planted succulents. Great plants for southern California!
This view out the back door is much more pleasant now. I plan to shellac or polyurethane the chairs to help preserve them while they’re outside (although it looks like they’ve possibly been outside for quite some time already), but the view is already much improved! Super easy project took only a matter of hours and changed the yard significantly. Hooray! I probably wouldn’t recommend outdoor wood furniture for rainier climates without some additional layers of protection from the elements.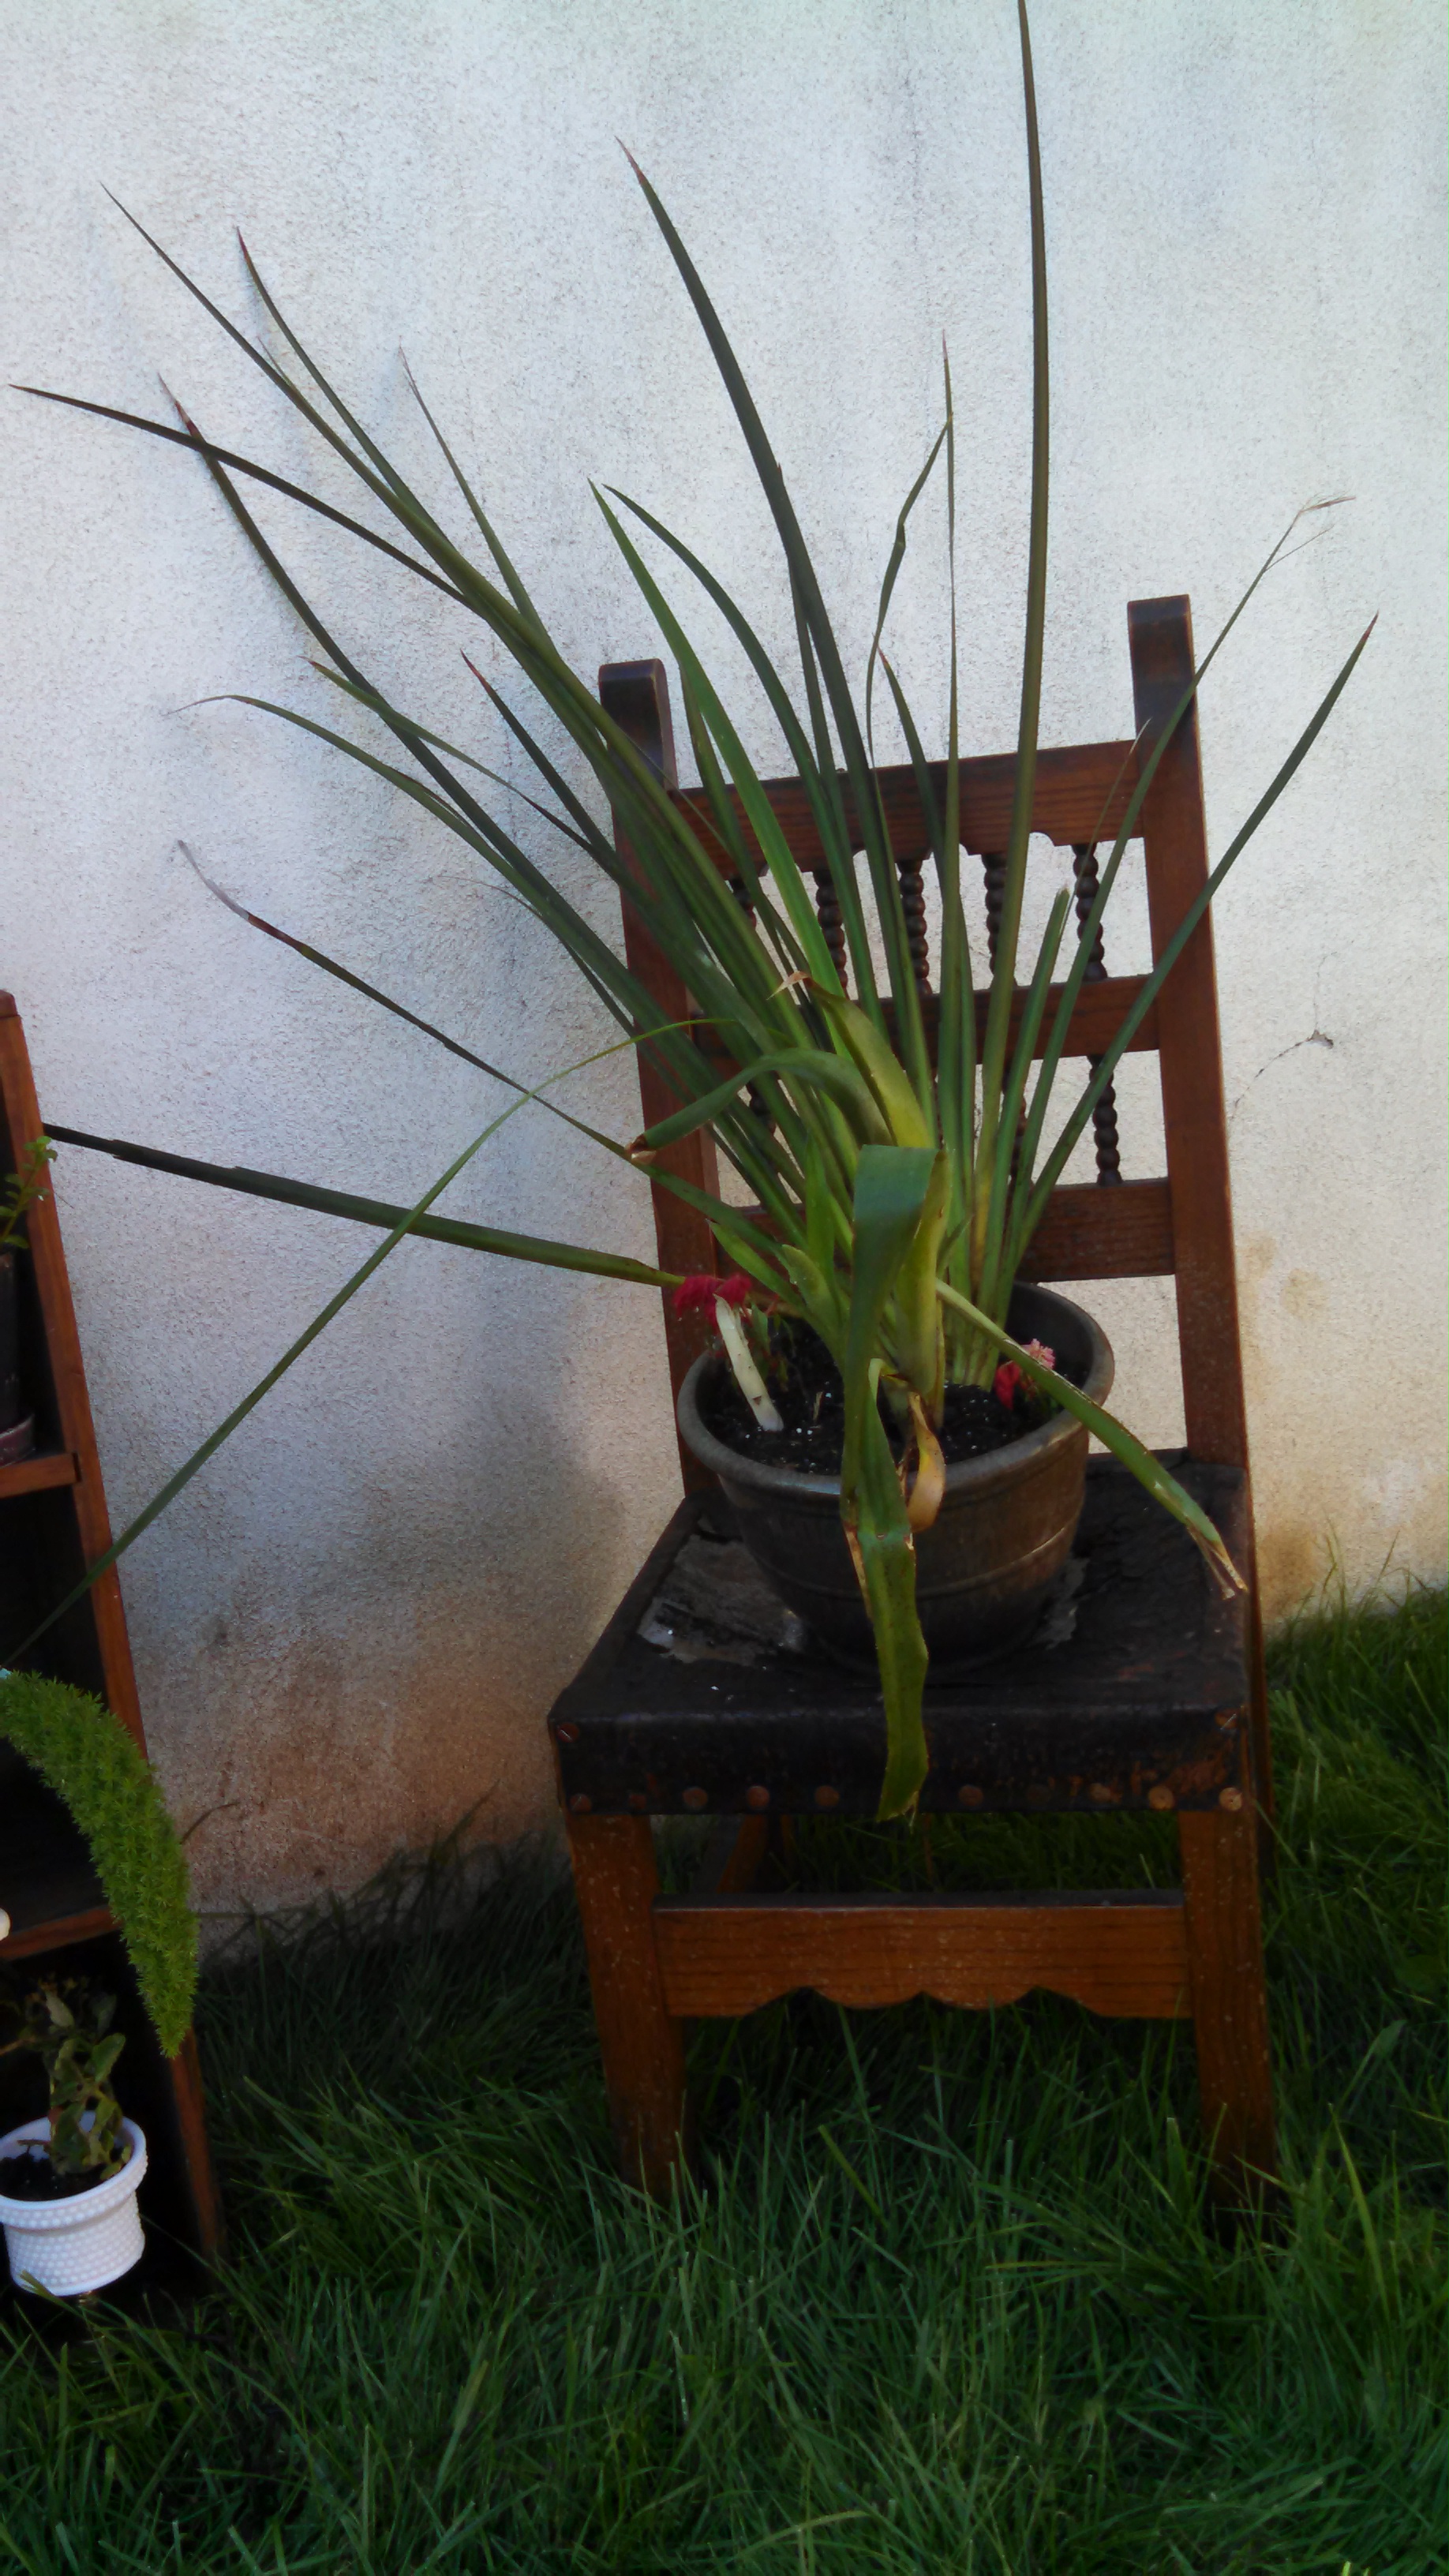
Since, again, the mural looks like it may take a while, I think I might do some moss graffiti in the meantime.

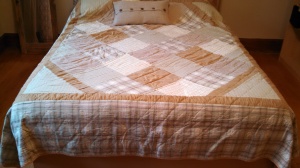 I wanted a quilt, preferably one with diamonds on it to match the diamond muntins on the windows. After poking around
  delivered. I found these amazing SILK Roman shades for free! One happened to match the window’s width exactly, and the set came with two other, more narrow shades. While the smaller ones don’t really belong anywhere, I stripped the fabric off one and used it to create accent pillow covers! I simply re-covered the accent pillows from the green bedding set, rather than buying new ones. Each pillow took only 3 easy seams to make! Leaving the shade halfway open creates some beautiful light effects.